Overview
This blog post will show you how to sequence AutoIt using App-V 4.6 SP1 (the latest version at the time of writing). Now, AutoIt is probably the easiest application to sequence in the world and doesn’t really need a blog post describing how to do it. However, I intend to write some more posts around using App-V in System Center Configuration Manager (ConfigMgr) 2007 for deployment and upgrades so a nice easy to follow recipe for an application that is free should be useful.
For sequencing I’ll be using Windows XP SP3 and creating a package that can be used on all later operating systems. I’ve set up the Windows XP machine as per the recommendations in App-V 4.6 SP1 Sequencing Guide – essentially all AV has been turned off, Windows update is off, and the App-V 4.6 SP1 sequencer has been installed. In my case the App-V sequencer machine is a Hyper-V virtual machine so that I can use snapshots to quickly get it back to a clean state.
Recipe
- Download the AutoIt full installer from this page.
- Run the Microsoft Application Virtualization Sequencer.
- Select Create a New Virtual Application Package.
- Select Create Package (default).
- On the Prepare Computer screen check that there are no warnings (Windows Defender is running, etc.) and then click Next.

- Select Standard Application (default) and click Next.
- At the Select Installer screen browse to the AutoIt installer (it should be something like ‘autoit-v3.3.14.2-setup.exe’) and then click Next.
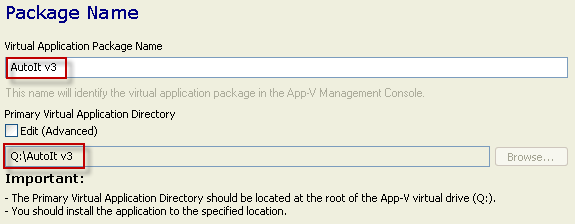
- In the Package Name screen enter the name AutoIt v3 as the package name. Note that this automatically generates the ‘Primary Virtual Application Directory’ of Q:\AutoIt v3. (in App-V 4.6 you no longer have to use 8.3 filenames so this automatically generated name is OK). Click Next.
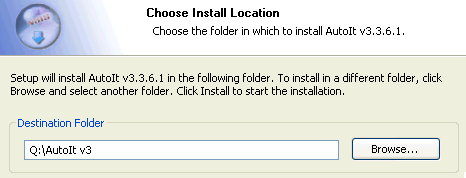
- The AutoIt installer will start. Use the defaults for all installation questions except for the installation folder which must be changed to match the Primary Virtual Application Directory of Q:\AutoIt v3.
- At the end of installation deselect Show release notes and then click Finish.
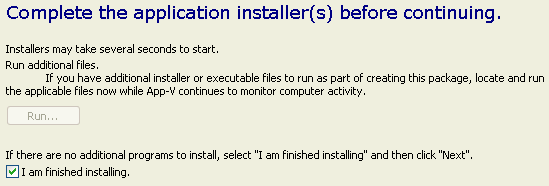
- Back in the App-V sequencer, select I am finished installing and then click Next.
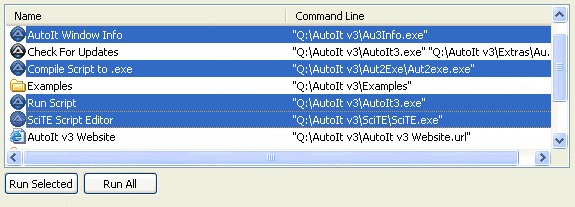
- Select the following tasks to run: AutoIt Window Info, Compile Script to .exe, Run Script, SciTE Script Editor. Then click Run Selected.
- Close down all the launched applications then back in the App-V Sequencer click Next.
- Review the Installation Report and then click Next.
- We need to customize the package a little so select Customize and then click Next.
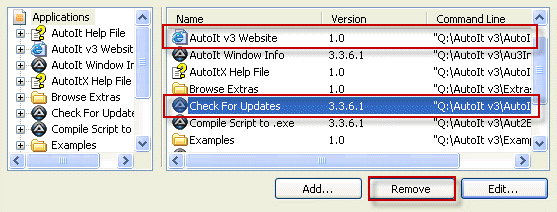
- Remove shortcuts as required for your corporate environment and then click Next. I would recommend removing ‘AutoIt v3 Website’ and ‘Check for Updates’.
- At the Prepare for Streaming page run the same applications as shown in step 12, close them after launch, and then click Next.
- Select Allow this package to run on any operating system and then click Next. (In theory, you could also create a specific 64-bit package as the AutoIt installer only installs 64-bit components when installed on a 64-bit machine, but the 32-bit version is fine for 99% of cases).
- Select Save the package now and Compress Package and click Create. Optionally enter the version name in the comments field.
- Click Close and you’re done!

